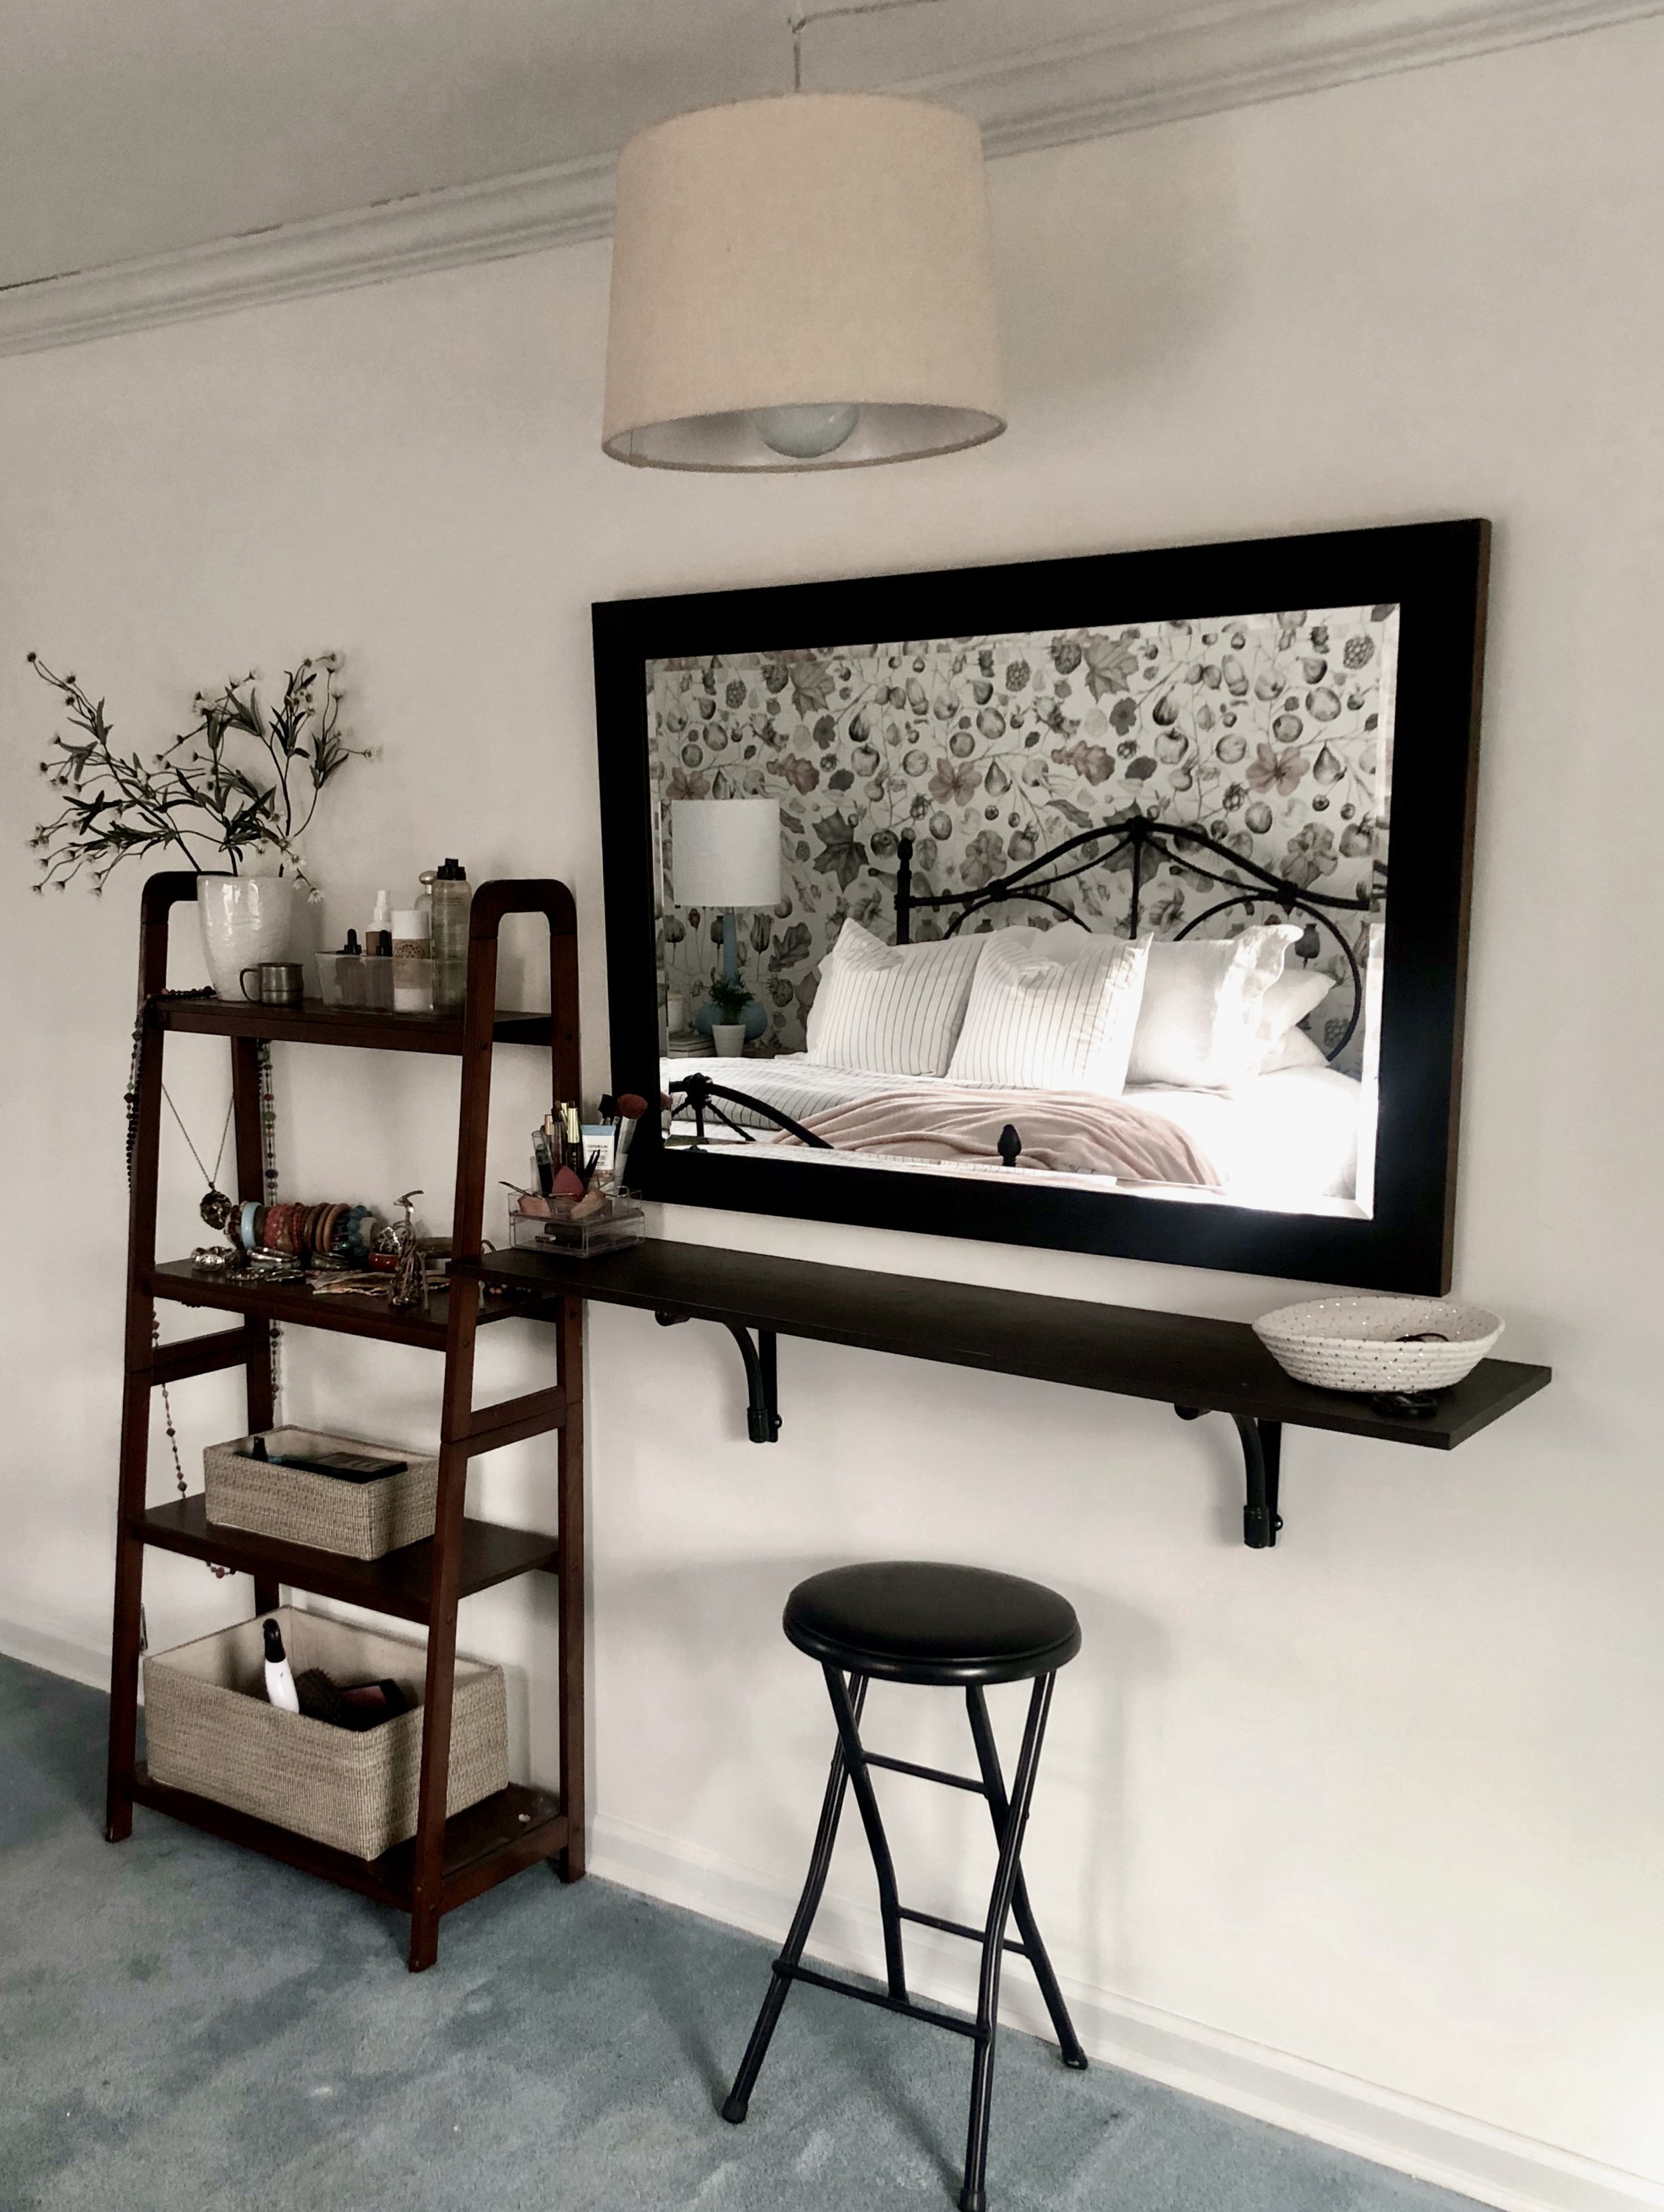
Main Bedroom Refresh
Josh and I will be married for 20 years in June! In that time, we have lived in three apartments and four different houses. In all these places, I have never decorated our bedroom. In my adult life, I have not a bedroom I loved or a place I want to end my day. Until now, I am so excited to share how this refresh turned out!!
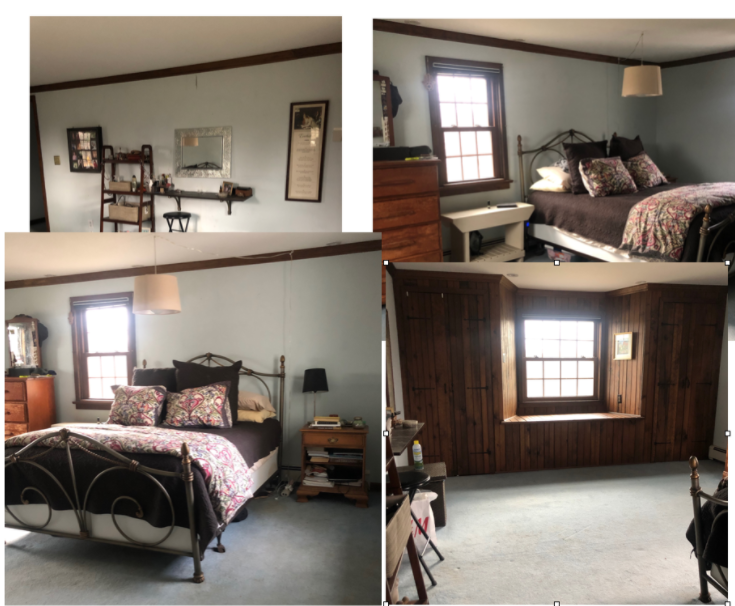
Our bedroom was the worst! The placement of the windows, outlets, and size of the room made it hard to find a space plan I liked. The blue carpet (unfortunately not being replaced right now), dirty blue walls and the wood paneling were just so bad.
Here are some before pics.
Pretty much everything in there was stuff we have collected along the way, just thrown in a room.
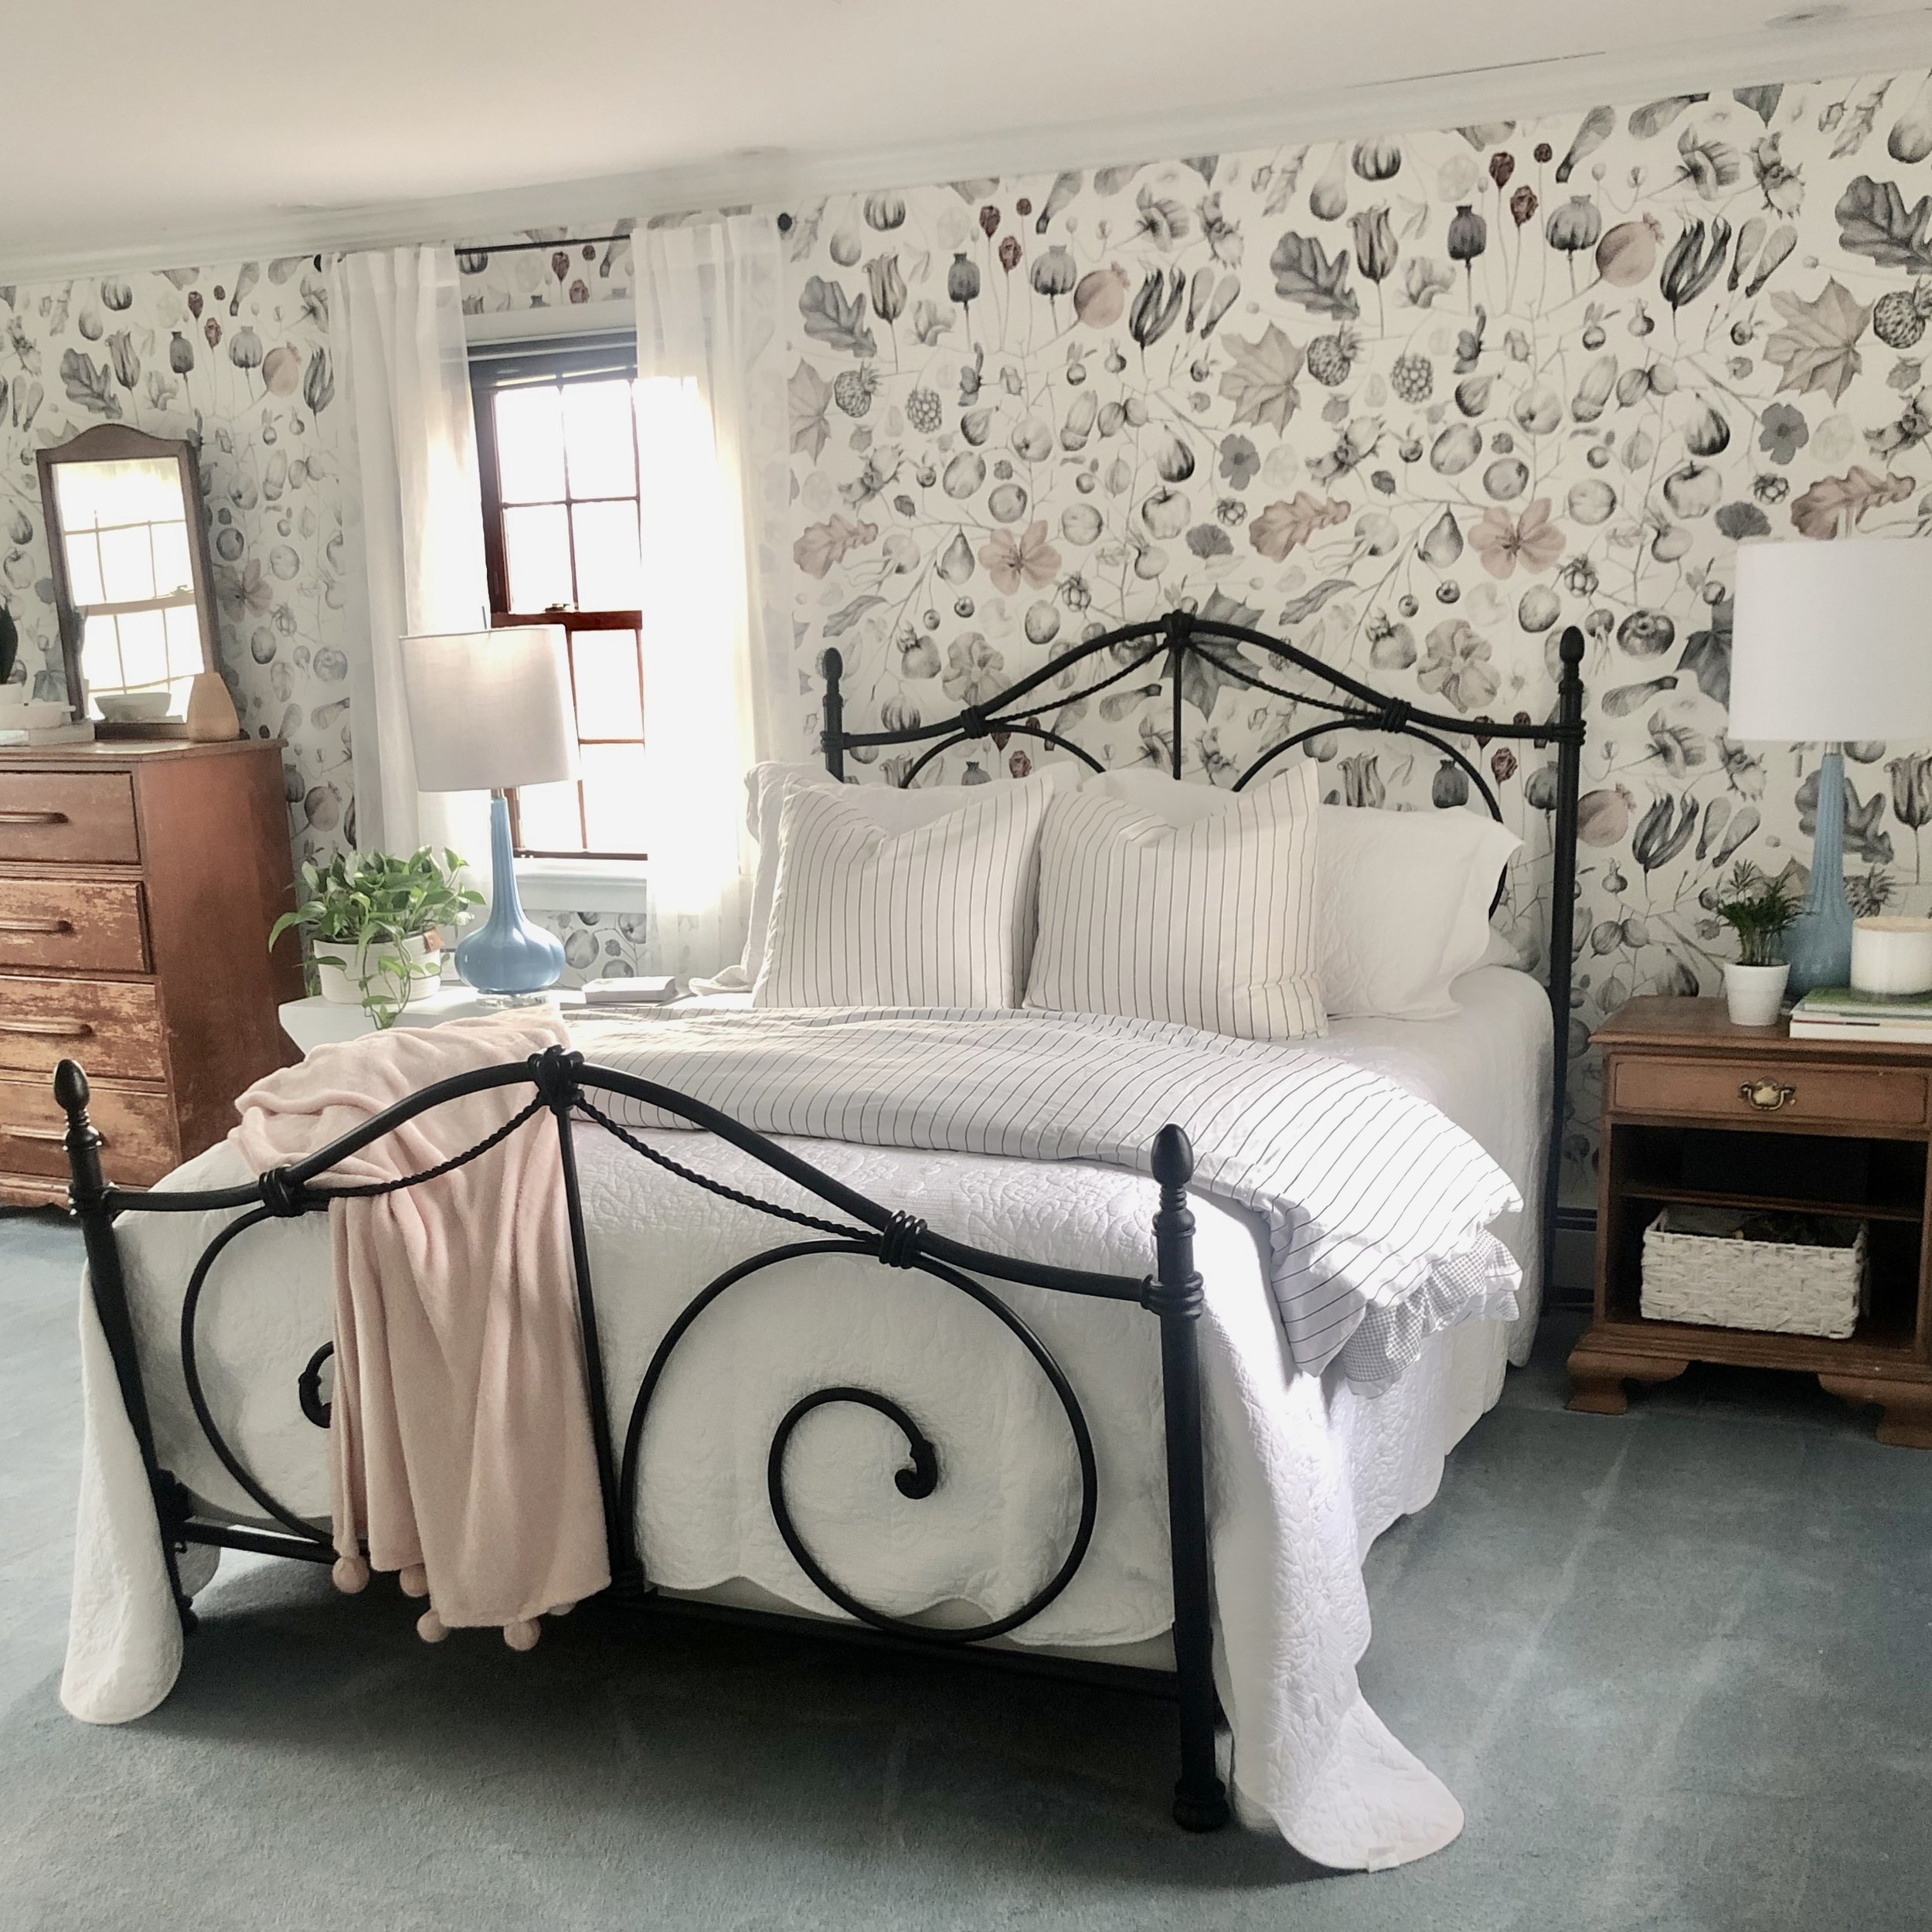
I settled on a space plan a while ago. The previous owners had their bed on the opposite wall from where I wanted to put ours. The way the room seems to be designed is the head of the bed would be on the same wall as the door, and I just can't do that! I like our bed to face the door, do you prefer your bed that way too? Once I settled on a space plan, I wanted to do a feature wall that would make sense of the bed on the wall I wanted. I wanted the room to feel bright, clean, and airy. So I was so excited to partner with Photowall to create this space! Photowall offers wallpaper, wall murals, canvas prints, and posters!
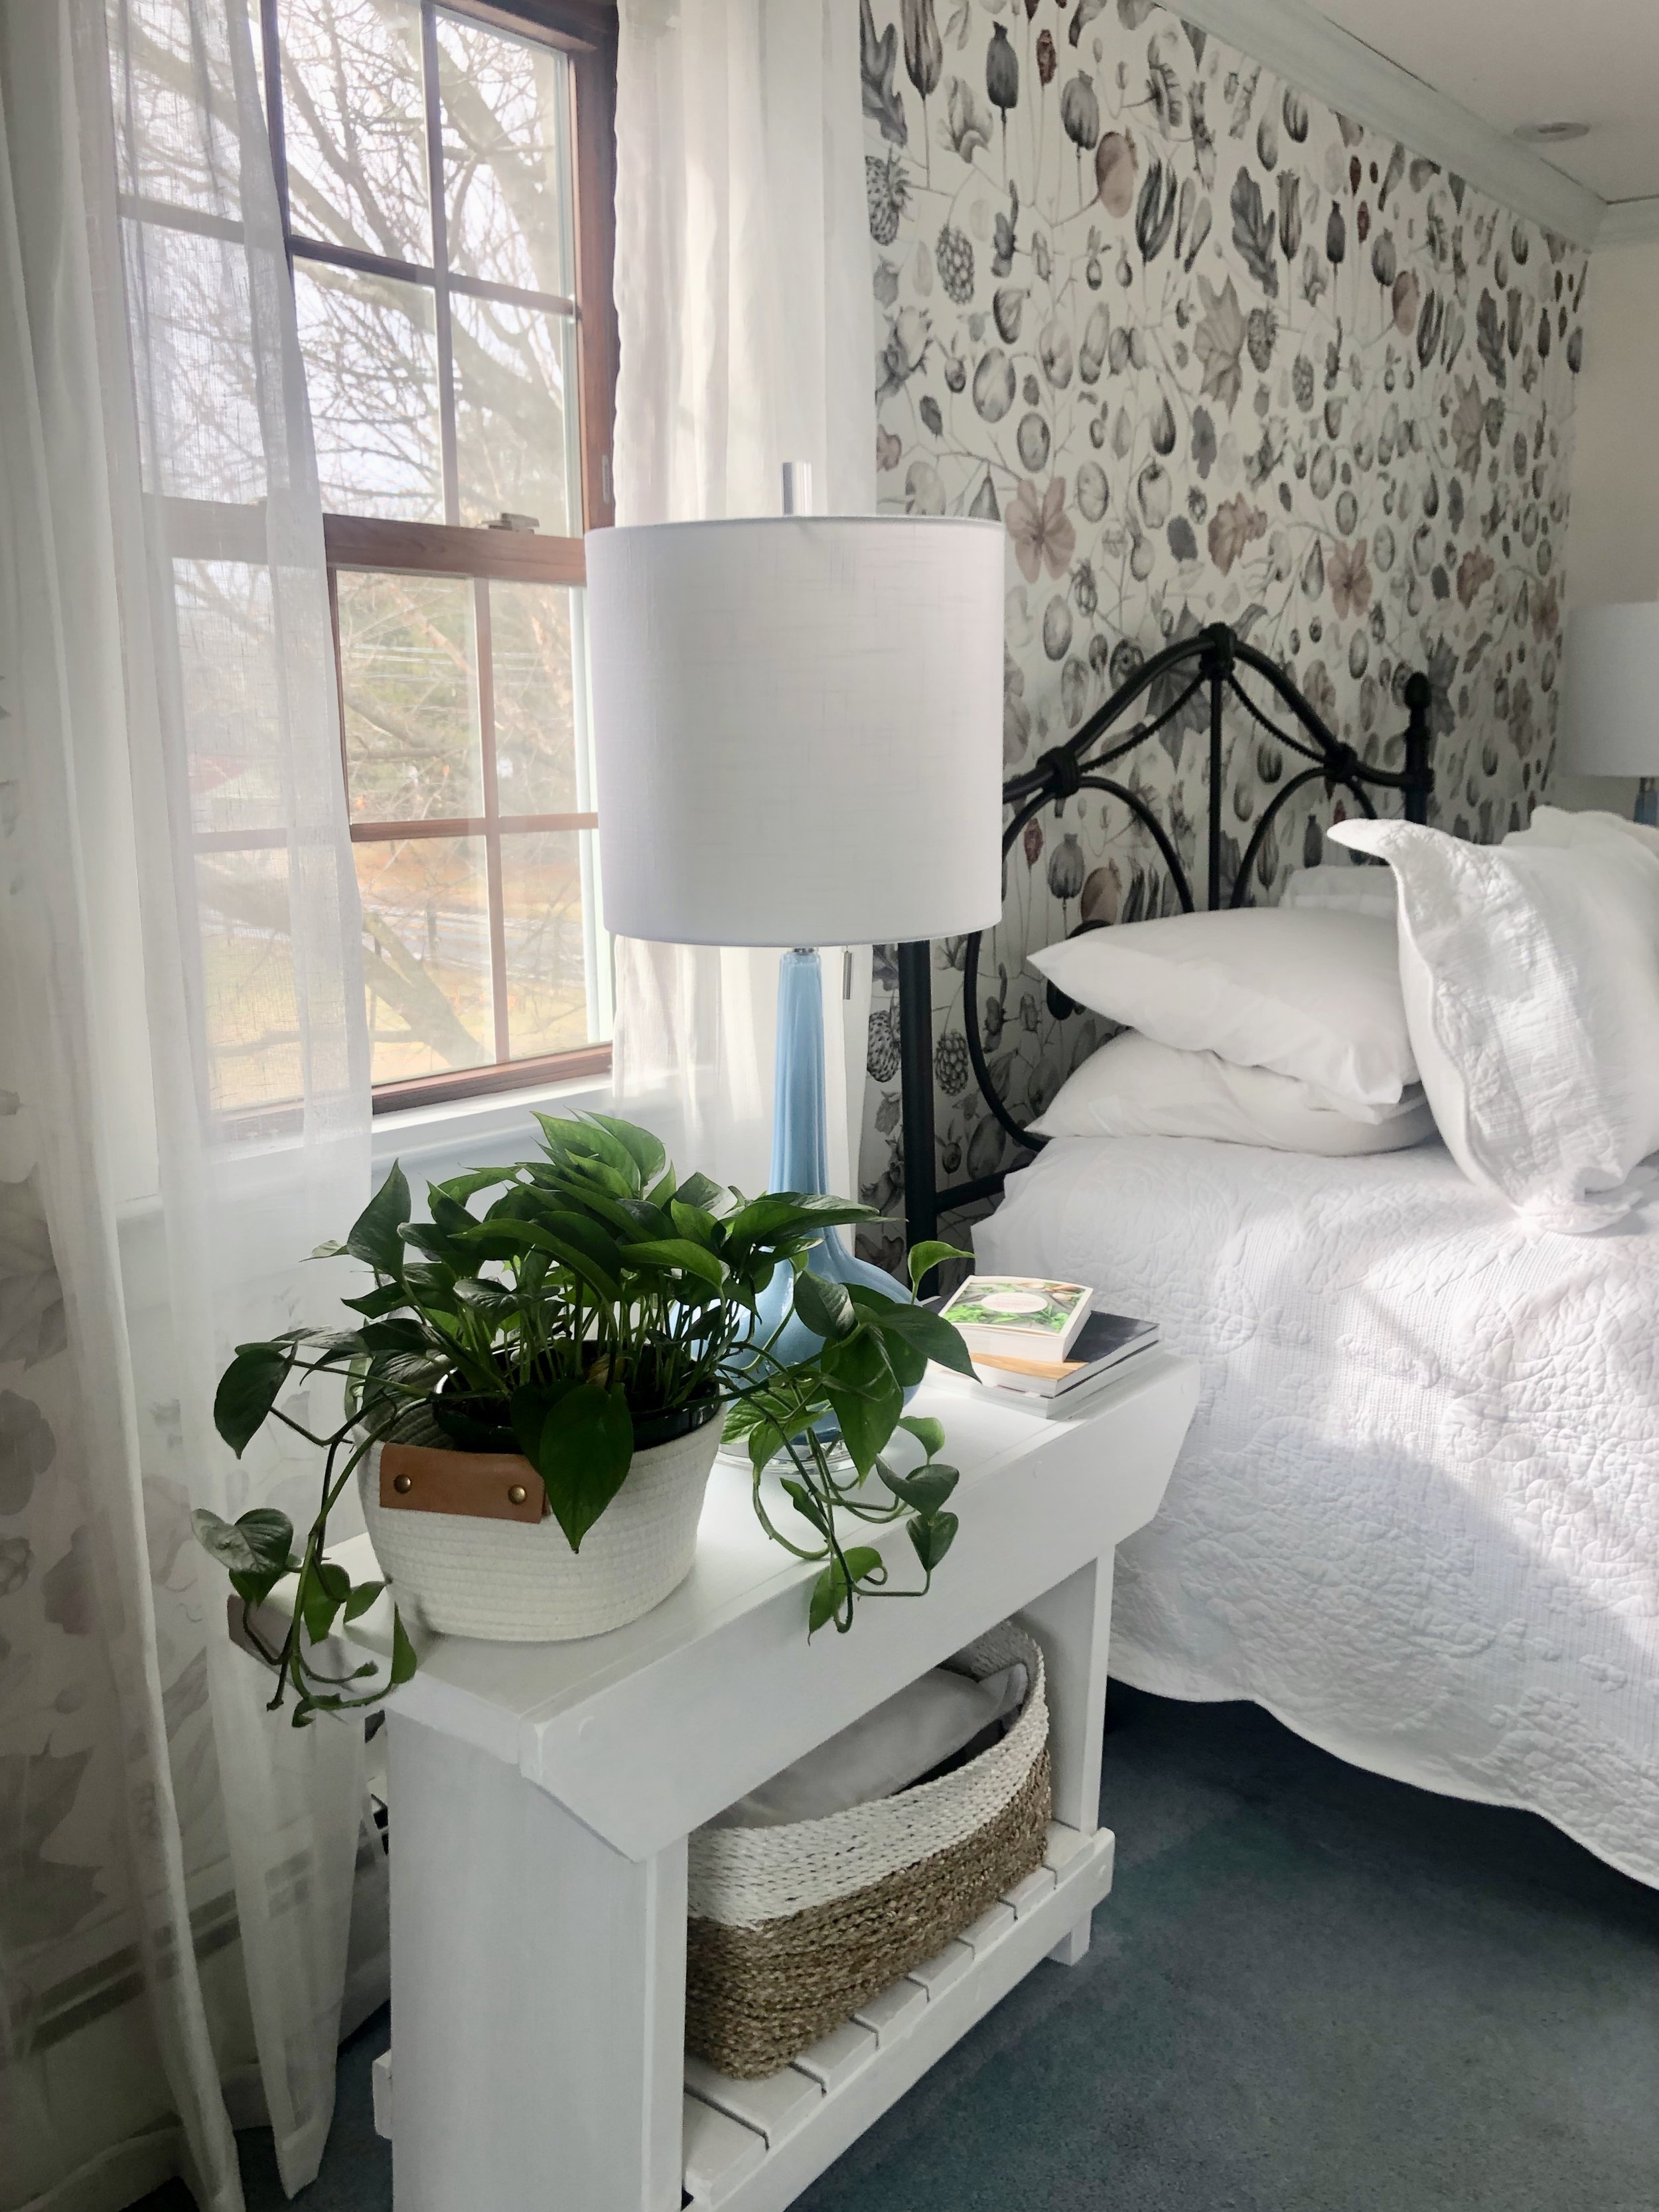
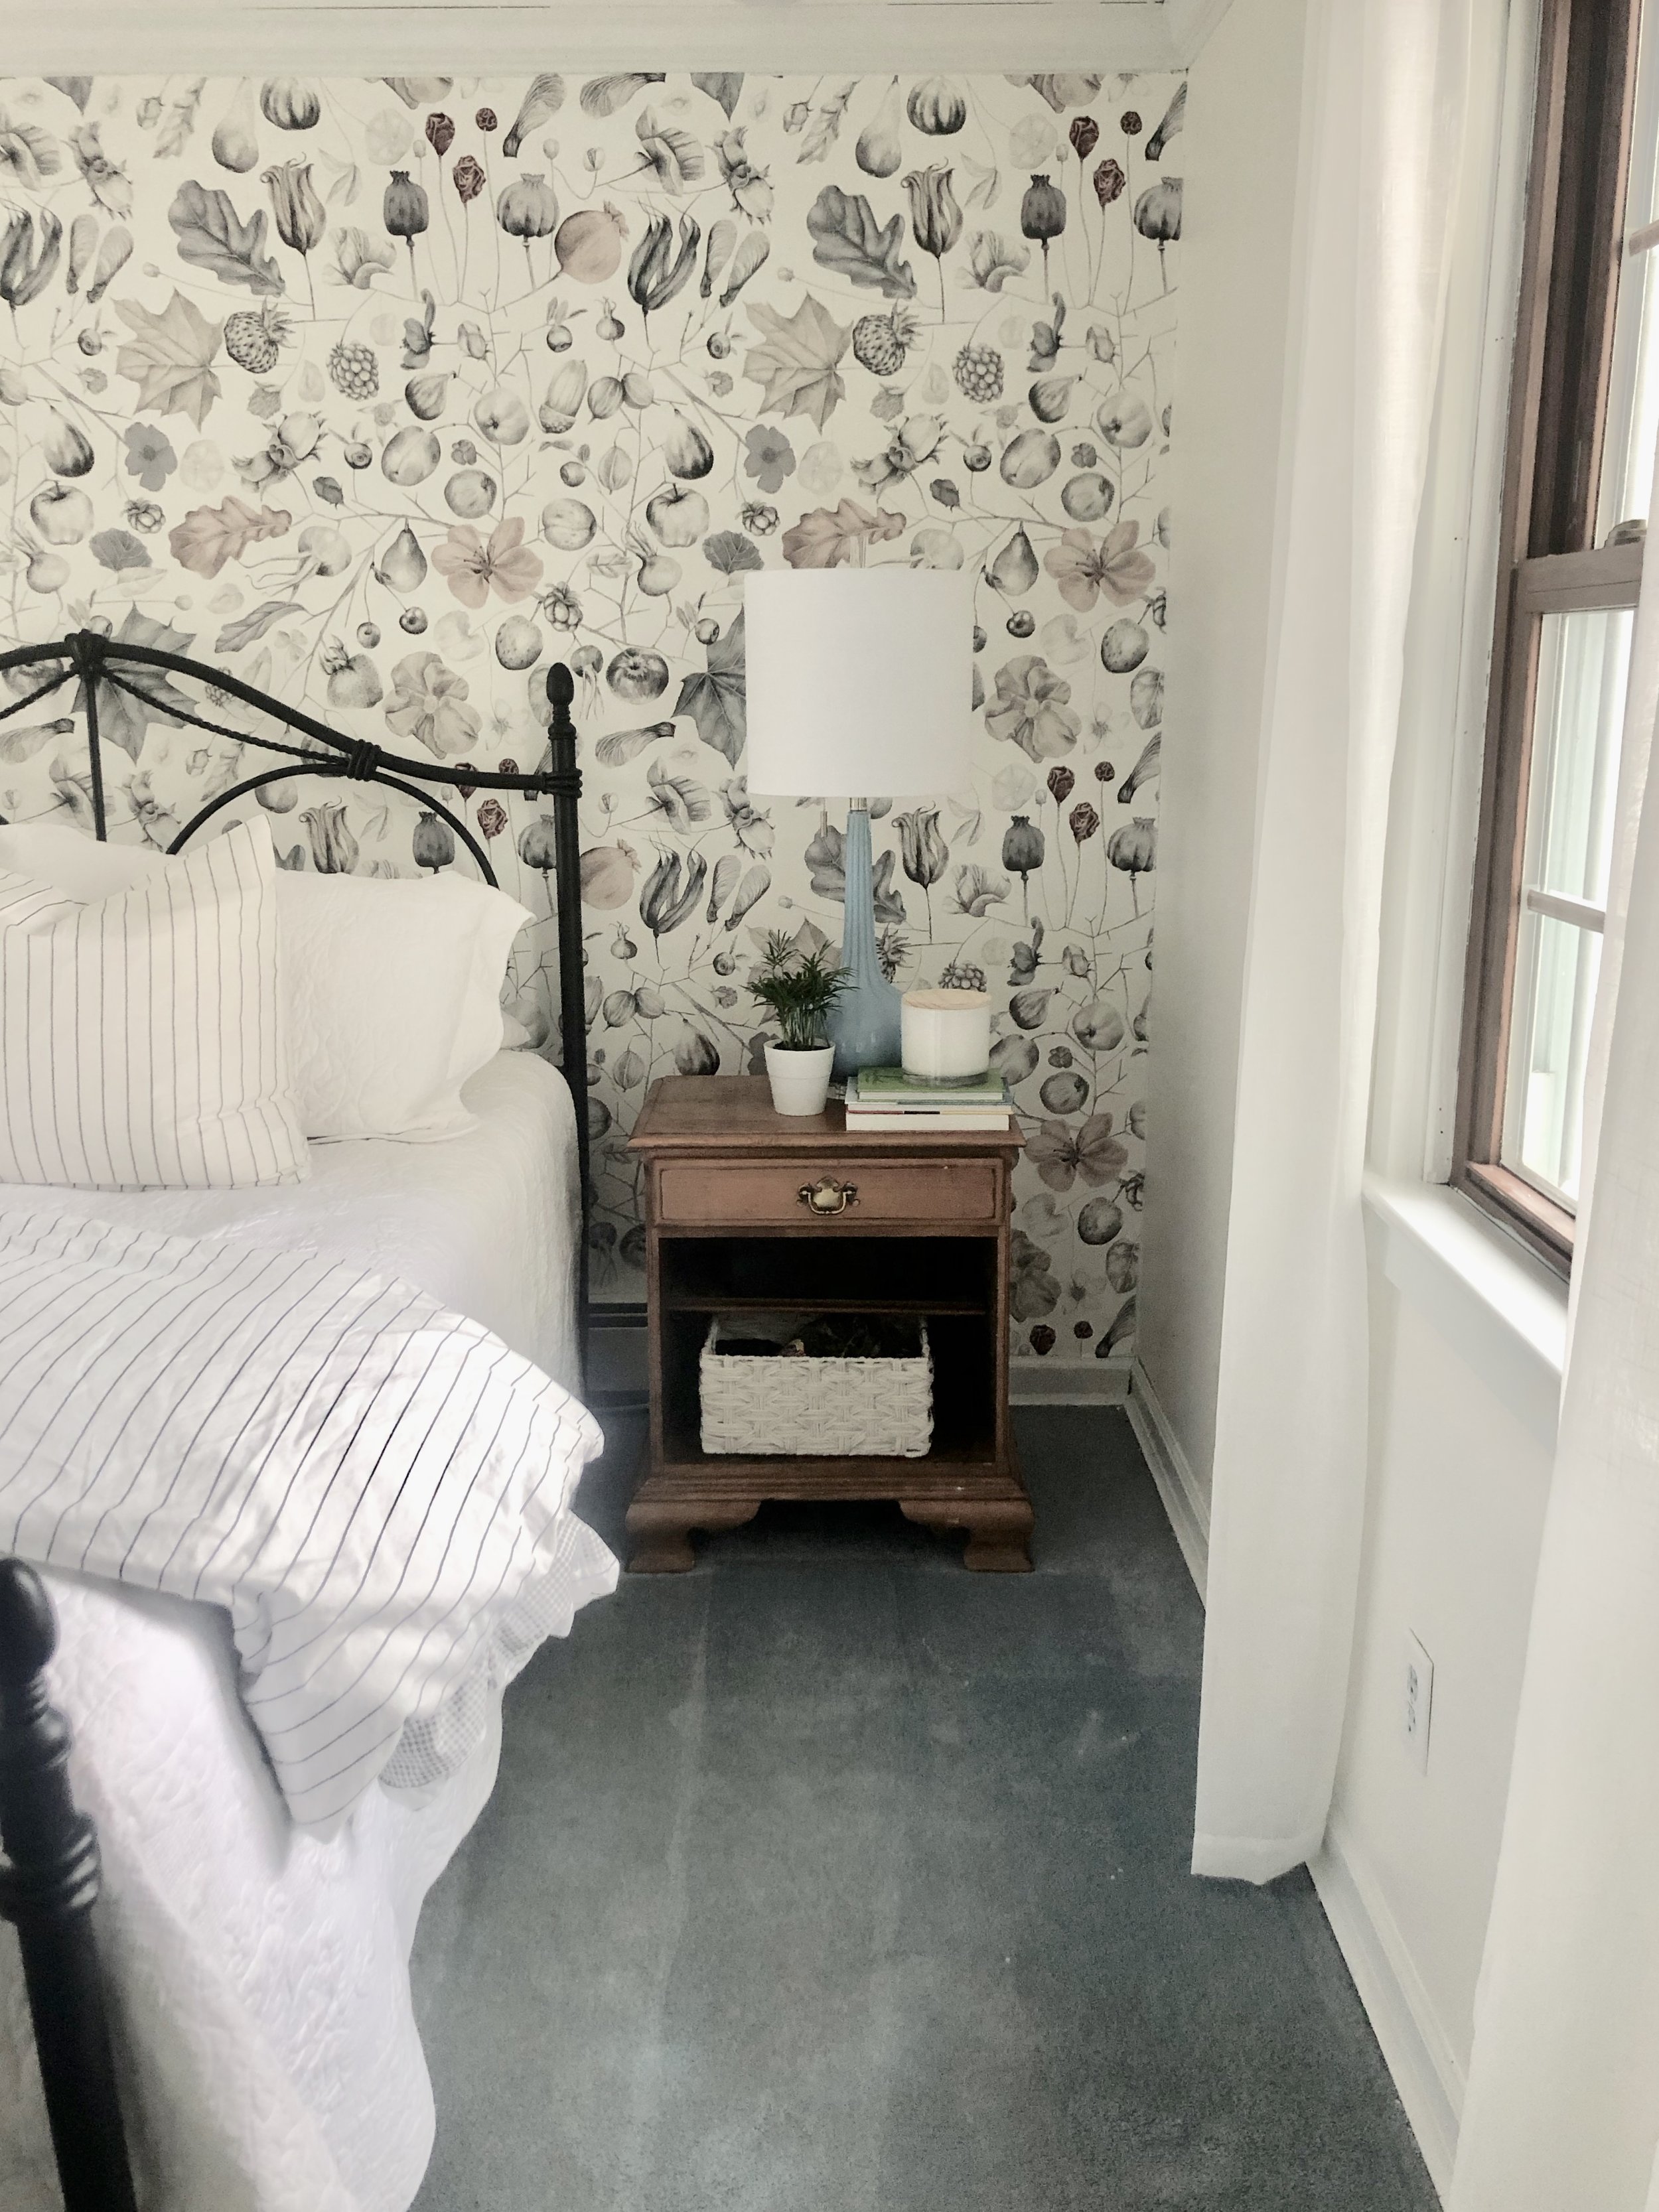
Master Bedroom Refresh - Honey Locust Home featuring wallpaper form Photowall. "Wild In My Garden"
After going through their many beautiful wallpaper and mural designs, I finally chose "Wild In My Garden," wallpaper it was perfect! Bright and airy, just the way I wanted. I love that it had this beautiful garden design so much of what both Josh and I love. I have never worked with wallpaper before, but I followed the ordering instructions, placed my order, and got started on a mood board.
Here's what I came up with.
Source:|
1. Bedding| 2. Wallpaper| 3. Curtain| 4. Lamp|
5. Fern |6. Bed Frame| 7. Lamp|
Right now, I am not planning on buying any new furniture, just painting and giving what we have a facelift. The wallpaper, wall color, bedding, and accessories will be new.
The Wallpaper
The wallpaper was super easy to install! When you order, you give the exact dimensions of the wall you are covering. It arrives in rolls, and as you unroll, you notice the dotted lines letting you know where to cut. Each piece is labeled letting you know what order to hang each one, so it matches the pattern perfectly. It also comes with wallpaper paste, you just have to mix with water, and you are ready to go! After I had the prep done, I just cleaned the walls, cut the paper, put it in order, and mixed the paste. It took a little over an hour to put the wallpaper up. If you want to see me putting up the wallpaper, it is saved in my Instagram highlights.
The process of putting up the wallpaper was much easier than I thought it would be. I found it to be easier than painting!
For all the other walls, I was having a hard time deciding on a wall color. I really thought I wanted to add a bold color, or maybe something darker to the walls and over the wood paneling. I put the wallpaper up in the evening and waited until I could see the paper in the daylight, to decide on a paint color. Once I saw it, in the morning, I decided to keep it simple and match the background white to the wallpaper. I took a piece of the wallpaper and matched it at the store. The best way to match is to take the sample outside and match it in the natural light.
Keeping it simple and not adding color was the right choice! It achieved the exact look and feel I wanted.
So that is my bedroom refresh for now. I would love to hear what you think about how it turned out! Have you ever considered using wallpaper in any of your spaces?Photowall is offering 25% off this month use discount code: honeylocusthome2020


